Microsoft silently rolled out OneDrive for Business Next Generation Sync Client for Windows 10, Windows 8.1, Windows 8 and Windows 7. I said silent roll out because I missed this some how. I've learned about it when some of my users started having sync problem using their files on OneDrive or SharePoint.
By the way just a friendly reminder, the free upgrade to Windows 10 is until July 29, 2016. There is no reason not to upgrade to Windows 10.
If you're using Windows 10 or Office 2016, you probably have OneDrive client on your workstation. You can skip to Step 2 below.
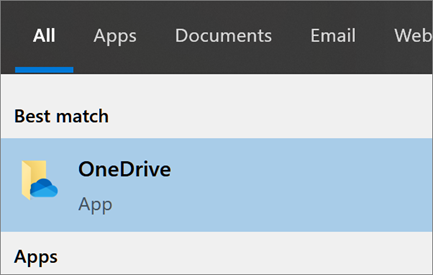
Search "onedrive" to check if you have it. You should see a OneDrive Desktop app.
Install and Setup
- Install the Windows version of the new OneDrive for Business sync client. It's a simple process to install. You don't need to restart your computer.
- In the task bar navigation area, right-click the white OneDrive cloud icon and select Settings.
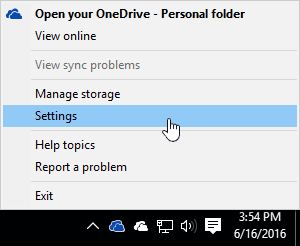
(You might need to click the Show hidden icons arrow next to the notification area to see the OneDrive icon. If the icon doesn't appear in the notification area, OneDrive might not be running. Click Start, type OneDrive in the search box, and then click OneDrive in the search results.) - In Settings, select Account, and then select Add an account.
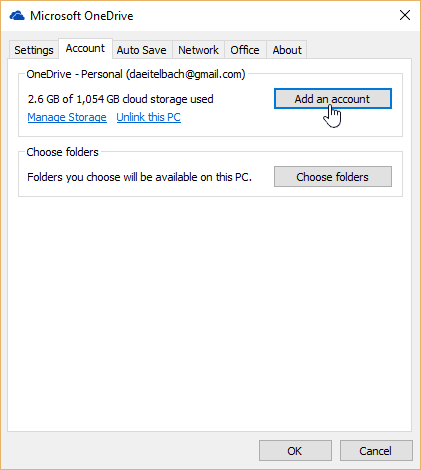
When OneDrive Setup starts, enter your work or school account, and then select Sign in to set up your account.
Key points in OneDrive Setup
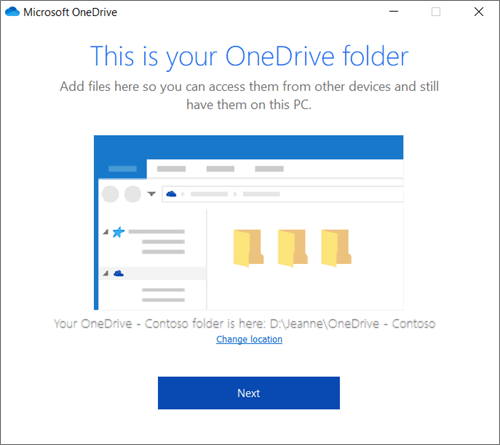
There are two screens in OneDrive Setup that are helpful to watch for:- On the This is your OneDrive folder screen, select Next to accept the default folder location for your OneDrive files. If you want to change the folder location, select Change location - this is the best time to make this change.
- On the Sync files from your OneDrive screen, choose the folders you want to sync, and select Next. This helps control the amount of space OneDrive files take on your computer and conserves bandwidth during sync processes. You can change this later in Settings, but this is a good opportunity as well.
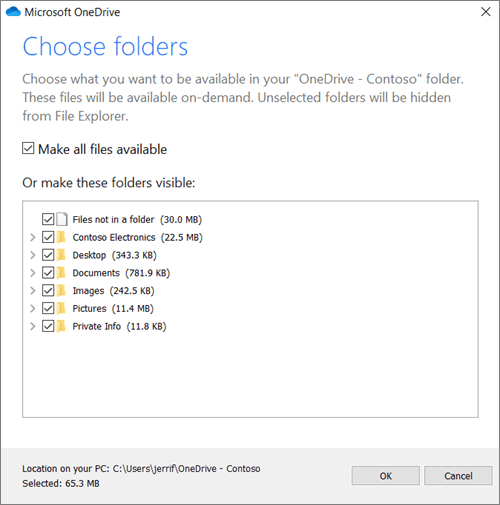
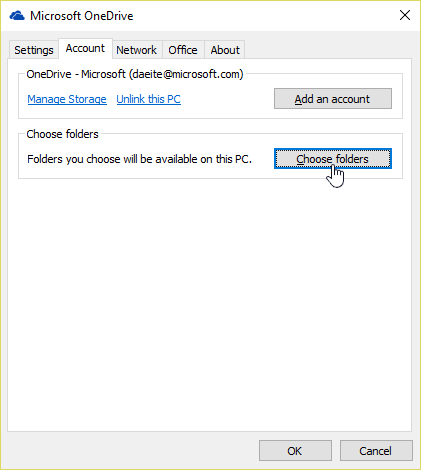
Note: If you were already syncing OneDrive for Business to your computer (using the previous sync client) and you've just installed the new OneDrive for Business sync client, you won't see the This is your OneDrive folder or the Sync files from your OneDrive screen during OneDrive Setup. The new OneDrive for Business sync client automatically takes over syncing in the same folder location you were using before. To choose which folders you're syncing, right-click the blue cloud icon in the taskbar notification area, and select Settings > Account > Choose folders.
Enjoy OneDrive for Business
You're all set. Your OneDrive for Business files will also appear in File Explorer window in the OneDrive – [YourTenantName] folder.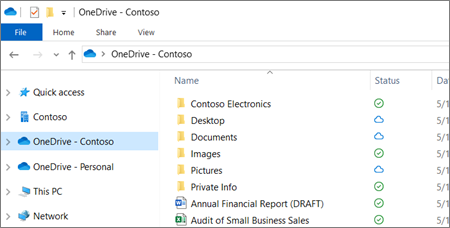
You now have a new blue cloud icon in your notification area and your work files are synced to your computer. Your blue cloud icon will appear as OneDrive – [YourTenantName] when you hover over the icon.

Any time you want to change the work or school folders you sync on your computer, right-click that blue cloud icon in the taskbar notification area, and select Settings > Account > Choose folders. Find other information about your account and change other OneDrive settings from here.
That's all.
Sources:




2 Comments
Looking for a Divorce Lawyer in New Jersey, Our skilled lawyer here to help you and represent in court
ReplyDeleteThanks for the detailed guide on installing and setting up OneDrive for Business Next Generation Sync Client in Windows! The step-by-step instructions are really helpful, especially for those who are new to the process. I appreciate how you’ve covered everything from installation to configuration, making it easy to follow along. This is definitely a time-saver for anyone looking to optimize their cloud storage. Great resource—thanks for sharing!
ReplyDeletedui alleghany va
dui lawyers in arlington